How to Regrout Shower Tile (Phoenix Homeowner Guide)
Step-by-step guide to removing and replacing cracked, stained or missing grout in a Phoenix shower or tub surround, with the rule behind every step: silica-safe grout removal, the right grout type, full joints, flexible corners, curing and ventilation.
By Gabriel · Licensed Phoenix, Arizona General Contractor ROC 367058 (R-62) · 2026-11-12
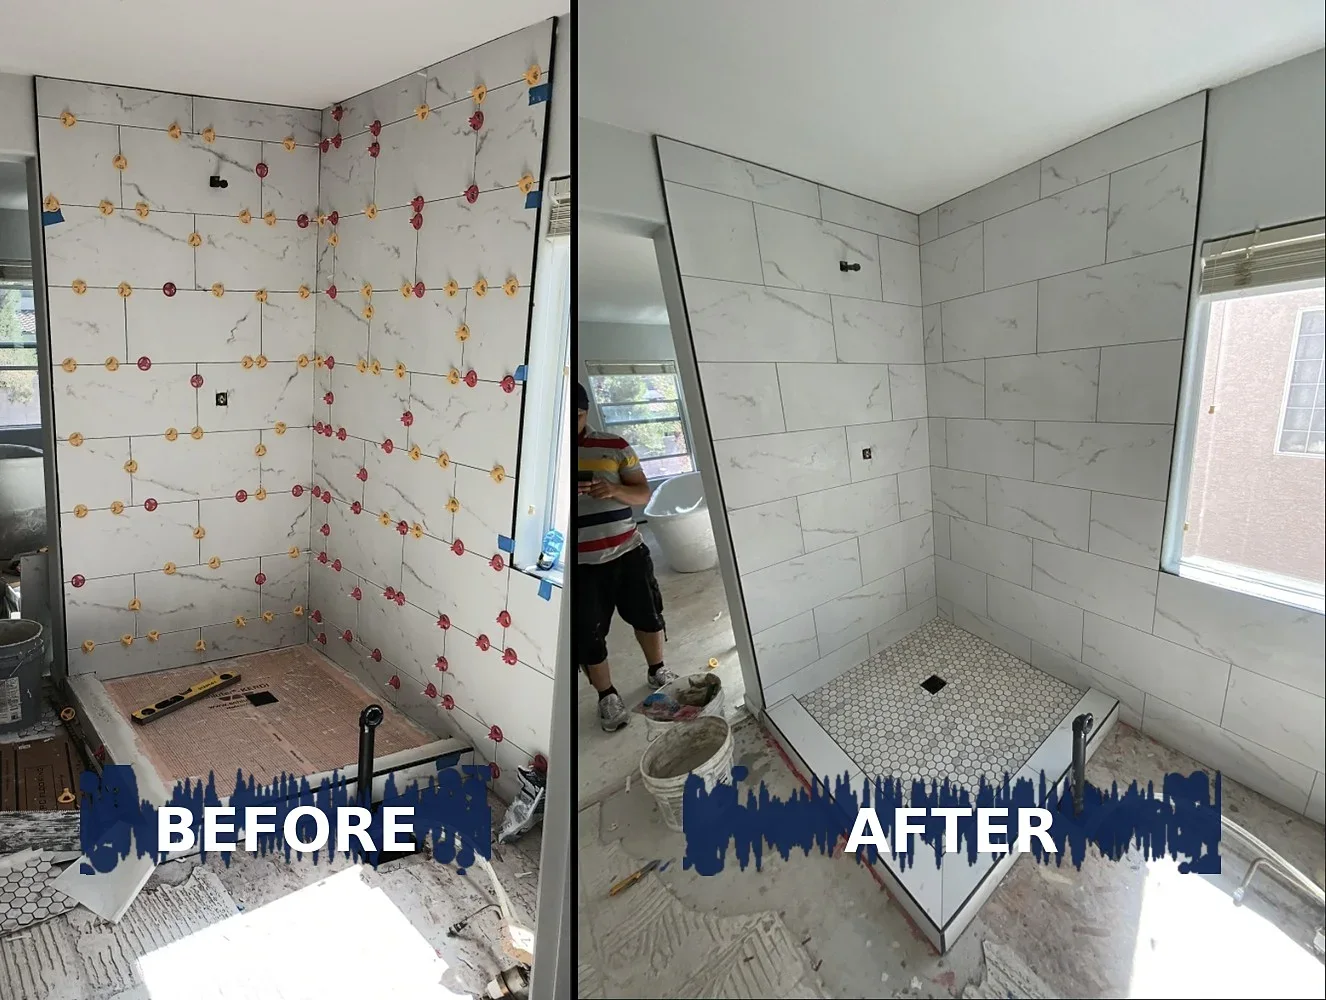
Grout is the first part of a shower to wear out. Cracked, crumbling, missing or black-stained grout looks bad, but the bigger problem is that every open joint sends more water toward the wall behind the tile. Regrouting is one of the most useful tile repairs a homeowner can do, as long as the tile itself is still solid.
Below is the order I follow when I regrout a shower or tub surround in Phoenix. Every step says why it matters and which rule is behind it: the 2024 International Residential Code (IRC), the 2023 National Electrical Code (NEC), the ANSI A108/A118 tile standards the IRC points to, the TCNA Handbook movement-joint guideline, or the OSHA silica rule for grinding out old grout.
Tools and parts
- Respirator (N95 minimum, half-face P100 better), safety glasses, hearing protection and gloves
- Manual grout saw or carbide grout scraper, and an oscillating multi-tool with a carbide grout blade (or a grinder with a dust shroud and vacuum for wide joints)
- Utility knife and silicone remover for the old caulk in the corners
- HEPA shop vacuum, painter's tape and drop cloths
- Grout that matches the job: sanded or unsanded cement grout, a high-performance cement grout, or epoxy grout
- Margin trowel, mixing bucket, rubber grout float, two buckets and grout sponges
- 100% silicone or other ASTM C920 sealant in a matching color
- Grout sealer if the grout maker calls for it
Step-by-step
Check that the problem is the grout, not the wall
Tap every tile with the handle of a screwdriver and press on the wall near the tub, the corners and the valve. Look for loose or hollow-sounding tiles, soft or bulging spots, cracked tile, and stains or peeling paint on the other side of the wall or on a ceiling below. If you find any of these, the backer or framing may be wet and the repair is bigger than grout.
Why: Grout is only the finish layer. The IRC requires a nonabsorbent surface at least 6 feet above the floor at showers and tubs with showerheads, and it requires tile to be installed to the ANSI A108/A118 standards, which assume a sound, solid substrate. Regrouting over a wet, moving wall just traps the water and the new grout cracks again.
Code: 2024 IRC R327.2 (nonabsorbent surface at least 6 ft above the floor at showers and tubs with showerheads) · 2024 IRC R702.4.1 (ceramic tile installed per ANSI A108 and A118 standards)
Know when regrouting is finish work and when it is not
Replacing grout and caulk on tile that is still well bonded is a surface repair. If you have to pull tile, replace backer board, move the valve or fix a leaking drain, plan that work separately and check with your building department.
Why: The model IRC lists tiling and similar finish work as exempt from a building permit, while building and plumbing work still needs one. Knowing where the line is keeps you from hiding a repair that should have been inspected behind new grout.
Code: 2024 IRC R105.2 (painting, papering, tiling and similar finish work exempt from permit) · 2024 IRC R105.1 (permit required for building and plumbing work)
Cut out the old caulk in the corners and at the tub
Slice along both sides of the old caulk with a utility knife, pull it out, then scrape and wipe off the leftover film with a silicone remover. Do not grind the inside corners or the joint at the tub: they should end up with sealant, not grout.
Why: The TCNA movement-joint guideline calls for flexible joints at all inside corners and where tile meets a different material like a tub, because those joints move. ANSI A108.02 says movement joints must be kept free of setting materials so the sealant can bond to clean tile edges.
Code: TCNA Handbook EJ171 (movement joints at all interior changes of plane) · ANSI A108.02 4.4.3 (keep movement joints clear of setting materials)
Remove the old grout with dust control
Tape off the tub or shower pan and the edges of any glass. Remove the grout with a hand grout saw or an oscillating tool with a carbide grout blade, holding the blade straight in the joint so it does not chip the tile edges. Take out at least two-thirds of the joint depth, or down to the thinset, so the new grout has room to lock in. If you use a grinder, use one with a dust shroud connected to a vacuum.
Why: Grout is cement and sand, so grinding it makes silica dust. OSHA's silica table lists a shroud and dust collection system plus a respirator for handheld grinders used to remove mortar, which is the same kind of work. Homeowners are not covered by OSHA, but the dust is just as harmful in a small bathroom.
Code: OSHA 29 CFR 1926.1153 Table 1 (xi) (handheld grinders for mortar removal: shroud, dust collection and respirator)
Vacuum and clean the joints
Vacuum every joint with a HEPA vacuum, then wipe the tile and joints with a damp sponge and let them dry. Remove any soap scum or mildew from the tile edges so the new grout bonds to clean surfaces.
Why: Loose dust and soap film stop new grout from bonding to the sides of the joint. OSHA's silica rule does not allow dry sweeping or compressed air for cleanup when wet methods or HEPA vacuums can be used, because both throw fine dust back into the air you breathe.
Code: OSHA 29 CFR 1926.1153(f)(1) (no dry sweeping or brushing of silica dust) · OSHA 29 CFR 1926.1153(f)(2) (no compressed air to clean surfaces)
Choose the right grout for a shower
Use unsanded grout for very narrow joints (about 1/8 inch or less) and sanded grout for wider ones, unless the product says otherwise. For a shower, I usually use a high-performance cement grout or an epoxy grout because they stain less and resist cracking better. Match the color to the existing tile and buy one product for the whole wall so the color stays even.
Why: The ANSI A118 standards set the performance of each grout type: A118.6 for standard cement grout, A118.7 for high-performance cement grout and A118.3 for epoxy. The IRC points to the ANSI tile standards, so a grout labeled to one of them and used inside its joint-width range is the right material for the job.
Code: ANSI A118.6 (standard cement grouts) · ANSI A118.7 (high-performance cement grouts) · ANSI A118.3 (epoxy grouts) · 2024 IRC R702.4.1 (tile installed per ANSI A108 and A118 standards)
Mix and pack the joints full
Mix only as much grout as you can use in about 20 to 30 minutes, following the bag for water amount and slaking time. Hold the rubber float at about 45 degrees and push the grout diagonally across the joints until they are completely packed, then scrape off the extra with the edge of the float, again diagonally so you do not pull grout out of the joints.
Why: ANSI A108.10 is the standard for installing grout in tilework, and it calls for joints to be filled completely. Half-filled joints and pinholes hold water and crack early. Too much water in the mix makes weak, chalky grout that shrinks and changes color.
Code: ANSI A108.10 (installation of grout in tilework)
Shape and clean the grout lines
When the grout firms up (usually 15 to 30 minutes, check the bag), wipe the tile with a damp, well-wrung sponge in light circles, then pull it along the joints to shape them even and slightly below the tile face. Rinse the sponge often. After it dries, buff the haze off with a dry cloth.
Why: A smooth, slightly concave joint sheds water instead of holding it. Too much water at this stage washes out cement and leaves soft, light-colored grout, which is why the ANSI grout installation standard and grout makers call for a damp sponge, not a wet one.
Code: ANSI A108.10 (installation of grout in tilework)
Seal the corners and the tub joint with flexible sealant
After the grout is dry (check the bag, often 24 hours), run a bead of 100% silicone or another ASTM C920 sealant in every inside corner and along the tub or shower pan, then tool it smooth. Leave the tiny gap at the bottom of a tub surround empty of grout so the sealant can flex.
Why: Walls and tubs move with weight and with Phoenix's big temperature swings, and rigid grout in those joints cracks and lets water in. ANSI A108.02 says sealant goes in after the tile and grout are dry, and the TCNA guideline calls for movement joints at all inside corners.
Code: ANSI A108.02 4.4.5 (install sealant after tile and grout are dry) · TCNA Handbook EJ171 (movement joints at all interior changes of plane) · ASTM C920 (elastomeric joint sealants)

Let it cure with the fan running, then seal if needed
Keep the shower dry for as long as the grout and sealant makers say, usually 24 to 72 hours. Run the bath fan or open the window to help it cure. If you used a cement grout that calls for sealer, apply a penetrating grout sealer after the cure time on the label. Epoxy and many high-performance grouts do not need sealer.
Why: The IRC requires every bathroom to have an openable window or an exhaust fan vented to the outdoors. Moving air helps new grout and silicone cure and keeps steam from feeding the mildew that ruined the old grout. If the bathroom has no working fan, that is the real cause of black grout.
Code: 2024 IRC R325.2 (bathroom window or exhaust fan vented outdoors)
Keep tools and cords safe around water
Plug the oscillating tool, vacuum and any work light into a GFCI-protected outlet, keep cords out of the tub, and unplug tools before wiping down wet tile. If the bathroom outlet is not GFCI-protected or the GFCI will not trip when you press TEST, have it fixed before the job.
Why: Water and power tools together are the reason the NEC requires GFCI protection for bathroom receptacles. A GFCI cuts the power in a fraction of a second if current leaks through you to ground.
Code: 2023 NEC 210.8(A)(1) (GFCI protection for bathroom receptacles)
When to stop and call a licensed pro
- Tiles are loose, cracked or sound hollow when you tap them.
- The wall feels soft, or you see water stains, peeling paint or mold on the other side of the wall or on a ceiling below.
- The grout keeps cracking in the same place after you replace it, which usually means the wall or floor is moving.
- The shower floor or pan needs regrouting along with leaking at the drain.
- The tile is natural stone, glass or very large format, which scratches or chips easily during grout removal.
- You want it done in a day without the dust, the noise and the risk of chipped tile.
Common questions
Can I just put new grout over the old grout?
Not with a lasting result. A thin skim of new grout over old grout does not bond well and flakes off within months. Remove at least two-thirds of the joint depth so the new grout has room to lock in, as described in step 4.
Do I need a permit to regrout my shower in Phoenix?
The model 2024 IRC lists tiling and similar finish work as exempt from a building permit (Section R105.2). Replacing backer board, moving plumbing or fixing a drain is different and normally needs a permit. Phoenix and other Valley cities write their own administrative rules, so confirm with your building department if the job goes beyond grout and caulk.
Should I use grout or caulk in the shower corners?
Use a flexible sealant such as 100% silicone in the inside corners and where the tile meets the tub or shower pan. The TCNA movement-joint guideline calls for movement joints at all inside corners, because grout there cracks as the walls move.
How long before I can use the shower after regrouting?
Follow the grout and sealant labels. Many cement grouts and silicones need 24 to 72 hours before they get wet, and some rapid-setting grouts are ready sooner.
Why does my grout keep turning black?
Usually it is mildew feeding on moisture and soap film. Run the exhaust fan during and after every shower; the IRC requires a bathroom window or a fan vented outdoors (Section R325.2). Epoxy or high-performance grout and a squeegee after showering also help.
Want it done right the first time?
I regrout, reseal and repair tile in showers, tub surrounds, backsplashes and floors across Phoenix, and I check the wall behind the tile when the grout keeps failing. See my Grout cleaning, regrouting and sealing in Phoenix, or send a request with the contact form and text me a photo for a fast estimate.
Licensed Phoenix, Arizona General Contractor ROC 367058 (R-62)