How to Replace a Light Switch or Install a Dimmer (Phoenix Homeowner Guide)
Step-by-step guide to replacing a wall light switch, dimmer or smart switch in a Phoenix home, with the NEC 2023 section behind every step: breaker off, verify dead, neutral, grounding, box fill, torque and faceplate.
By Gabriel · Licensed Phoenix, Arizona General Contractor ROC 367058 (R-62) · 2026-11-05
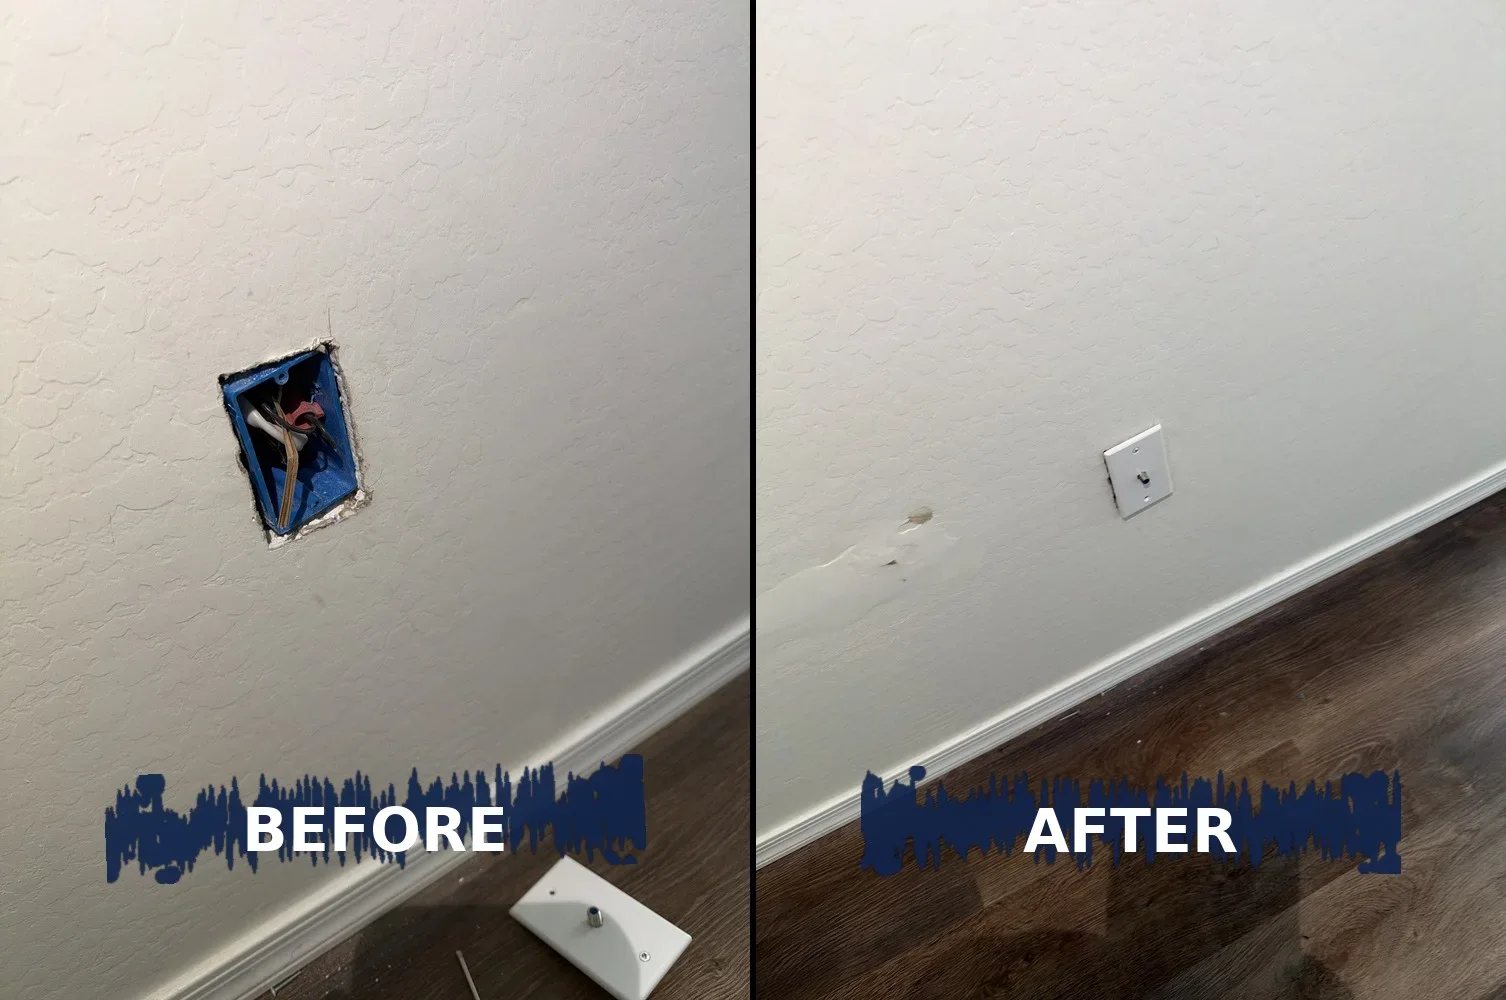
A switch that crackles, feels warm, flickers the lights or just stopped clicking is a very common call in Phoenix, and so is "can you put a dimmer or a smart switch here?" Swapping a switch is a small job, but it is live electrical work and the new device has to meet today's code rules.
Below is the order I follow on a standard single-pole switch (one switch controls the light). Every step says why it matters and which National Electrical Code (NEC 2023, NFPA 70) section it comes from. If you are replacing outlets too, see my guide on how to replace an electrical outlet.
Tools and parts
- Non-contact voltage tester
- Multimeter (or two-lead voltage tester)
- Insulated screwdrivers and a torque screwdriver
- Wire stripper / cutter
- New listed switch, dimmer or smart switch rated for the circuit and the load
- Wire nuts and a short green or bare copper pigtail if needed
- Phone camera and painter's tape for labels
- New cover plate (nonmetallic if there is no ground in the box)
Step-by-step
Find the right breaker, turn it off, and label it
Turn the light on, then switch breakers off until it goes out. Leave that breaker off, tape over it so nobody turns it back on, and fix the panel label if it was wrong or blank.
Why: Older Phoenix panels are often mislabeled, and working on a circuit you think is off is how people get hurt. The code requires every circuit to be legibly identified by its specific purpose, so correcting the label protects the next person too.
Code: NEC 408.4(A) (circuit directory / identification)
Verify every wire in the box is dead with two testers
Prove the non-contact tester on a known live outlet. Remove the cover plate and the two mounting screws and pull the switch out without touching the terminals. Check every wire in the box with the non-contact tester, then confirm with a meter (each terminal and wire to ground and to any white neutral bundle). Re-check the meter on a known live outlet afterwards.
Why: Switch boxes often have a second circuit passing through or a neutral bundle shared with another light, and non-contact testers can miss voltage. Testing at the point of work with a meter proven on a live source before and after is the professional standard for confirming the box is safe.
Code: NFPA 70E-2024 120.6(7) (test for absence of voltage at the point of work, verify the tester before and after)
Photograph the wiring and identify what kind of switch it is
Take a clear photo before you disconnect anything. A single-pole switch has two terminal screws (plus a green ground screw) and ON/OFF printed on the toggle. A three-way switch has three screws, one darker "common" screw, and no ON/OFF marking; that means another switch controls the same light. Note any white wire connected to the switch with black or red tape on it: it is being used as a hot, not a neutral.
Why: What you find decides which replacement and which terminals are correct. The code only allows the switch to open the hot (ungrounded) conductor, never the neutral, and in a three-way or four-way setup all switching must be in the hot. A white wire in a cable may be used as a switch leg only when it is permanently re-identified, which is why that tape matters and should be kept or replaced.
Code: NEC 404.2(A) (three-way and four-way switching in the ungrounded conductor) · NEC 404.2(B) (switches shall not disconnect the grounded conductor) · NEC 200.7(C)(1) (re-identified white conductor used for switching)
Choose a replacement rated for the circuit and the load
Use a listed switch rated at least for the circuit (15 A for a 15 A circuit, 20 A for a 20 A circuit) and the same type (single-pole for single-pole, three-way for three-way). For a dimmer, buy one that says it is listed for the bulbs you have, such as "LED/CFL" dimmers for LED bulbs, and check the minimum and maximum wattage printed on it. If the switch runs a ceiling fan, use a fan-rated control, not a light dimmer.
Why: A general-use switch may only control loads within its rating, and a general-use dimmer is only allowed to control permanently installed incandescent lights unless it is listed for other loads. Using a plain incandescent dimmer on LED bulbs or a fan motor causes flicker, buzzing and overheating. The listing and the instructions printed on the package are part of the code.
Code: NEC 404.14 (rating and use of snap switches) · NEC 404.14(E) (dimmer switches limited to incandescent unless listed for other loads) · NEC 110.3(B) (install per listing and instructions)

A real job: a new four-light bathroom vanity fixture. If you put a dimmer on lights like these, the dimmer has to be listed for the bulb type (LED vs. incandescent), which is what step 4 is about. Check for a neutral before you buy a smart switch
Look in the back of the box for a bundle of white wires joined with a wire nut. Most smart switches, timers and occupancy sensors need a neutral connection to power their electronics. If there is no neutral in the box, choose a smart switch that is listed for no-neutral installation, or have a pro run one.
Why: Since the 2020 NEC, new switch locations serving bathrooms, hallways, stairways and habitable rooms must have a neutral available, but older Phoenix homes often do not. Electronic switches must not put current on the ground wire during normal operation, so you cannot "borrow" the ground as a neutral. A replacement switch that needs a neutral in an older box without one is only allowed under a narrow exception.
Code: NEC 404.2(C) (grounded conductor at switch locations, with exceptions) · NEC 404.22 (electronic lighting control switches)
Make sure the new device fits in the box
Dimmers and smart switches are much deeper than a plain toggle switch. Count the wires in the box; if it is already packed or the wire ends are very short, you may need a deeper box or a box extension.
Why: Every box has a maximum number of conductors based on its volume, and the switch itself counts as two conductors. Overstuffed boxes trap heat (and dimmers make heat) and damage insulation. You also need enough free wire length to make a good connection.
Code: NEC 314.16 and 314.16(B)(4) (box fill, device counts as two conductors) · NEC 300.14 (at least 6 in. of free conductor at each box)
Prepare the wire ends
Cut off any nicked, darkened or brittle ends back to clean copper. Strip to the length on the switch's strip gauge. Bend a hook and wrap it clockwise under the screw, or use the back-wire clamp. On dimmers and smart switches with wire leads, use the size of wire nut the instructions call for. Avoid push-in (back-stab) holes.
Why: Most heat-damaged switches I replace failed at a loose or back-stabbed connection. Screw terminals and clamp-type back-wire terminals hold the wire much tighter, and the device's listing says which wire sizes and connection methods it accepts.
Code: NEC 110.14(A) (terminals, wire-binding screws for 10 AWG and smaller) · NEC 110.3(B) (install per listing and instructions)
Connect the switch so it breaks only the hot wire
On a single-pole switch, the two hot wires (the one from the panel and the one going to the light) go to the two brass terminals. On a three-way, the wire that was on the darker common screw goes on the new switch's common screw, and the two travelers go on the other two. On a smart switch or dimmer with leads, follow its LINE and LOAD markings. Neutrals stay joined together in the back of the box (and to the smart switch's neutral lead if it has one).
Why: The switch must open only the ungrounded (hot) conductor. If it switched the neutral, the light would still have voltage on it when it is off, which is a shock hazard when someone changes a bulb. Smart switches and dimmers wired LINE/LOAD backwards often will not work or can be damaged.
Code: NEC 404.2(B) (switches shall not disconnect the grounded conductor) · NEC 404.2(A) (three-way and four-way switching) · NEC 110.3(B) (LINE/LOAD per instructions)
Connect the ground, or use the allowed option if there is none
Connect the bare or green ground wire to the green screw on the switch, using a short pigtail if several grounds are joined in the box. In a metal box that is grounded, the metal mounting screws also bond the switch. If the box has no ground at all (common in older homes), a replacement switch is still allowed, but only with a nonmetallic, noncombustible cover plate with nonmetallic screws, or with GFCI protection on that circuit.
Why: The metal strap of the switch and a metal cover plate can become energized if a wire touches them. The ground connection is what trips the breaker in that case. Where no ground exists, the code permits a replacement switch only with a plastic-type plate or GFCI protection so the metal you touch cannot shock you.
Code: NEC 404.9(B) (grounding of switches and metal faceplates) · NEC 404.9(B) Exception No. 1 (replacement where no equipment ground exists) · NEC 250.148 (grounding continuity in boxes)
Tighten every terminal to the specified torque
Use a torque screwdriver set to the value printed on the switch or its instructions (often in pound-inches). Give each wire a light tug test, and make sure no bare copper shows outside the terminal except the ground.
Why: Under-tightened screws loosen as they heat and cool, then arc. That is what makes a switch crackle, get warm and eventually burn. Over-tightening can crack the device or cut the wire.
Code: NEC 110.14(D) (terminal connection torque) · NEC 110.3(B) (install per listing and instructions)
Mount the switch straight and seat the cover plate flat
Fold the wires neatly into the box, screw the switch to the box with the screws provided, and keep it straight. If the box is set back behind the drywall, the switch's plaster ears must sit on the wall surface (use spacers or a box extender if needed). Install a cover plate that completely covers the opening and sits flat on the wall.
Why: A switch mounted only to a recessed box can push back into the wall and stress the connections every time someone flips it. An open or gapped box exposes live parts. The code requires the device to be seated firmly against the finished surface and the faceplate to completely cover the box opening.
Code: NEC 404.10(B) (mounting of snap switches, set-back boxes, mounting screws) · NEC 404.9(A) (faceplates shall completely cover the opening and seat against the wall)
Restore power and test the switch and the light
Turn the breaker back on and remove your tape. Flip the switch several times; for a dimmer, run it through the full range and listen for buzzing or flicker. For a three-way, test from both switch locations. Feel the plate after 10 to 15 minutes at full brightness: warm is normal for a dimmer, hot is not.
Why: Testing proves the hot is switched and the device works within its rating. Flicker or buzzing on a new dimmer usually means the dimmer and bulbs are not listed as compatible or the load is below the dimmer's minimum, both of which come back to the device's listing and instructions.
Code: NEC 110.3(B) (install per listing and instructions) · NEC 404.14(E) (dimmer listed for the load)
When to stop and call a licensed pro
- You find aluminum branch-circuit wire (dull silver) or the box has scorch marks, melted insulation or a burning smell.
- The box has no neutral and you want a smart switch that needs one, or you want to move or add a switch location (new wiring usually needs a permit; check with your city).
- Three-way or four-way switches where the wiring was changed by someone before, or the light still has voltage when the switch is off.
- The breaker trips when you restore power, or the switch or plate gets hot.
- The box is too small for the dimmer or smart switch, or the house has cloth-covered or knob-and-tube wiring.
Common questions
Why does my new dimmer make my LED lights flicker or buzz?
Usually the dimmer is not listed for LED loads or the LED bulbs are not dimmable. NEC 404.14(E) limits general-use dimmers to incandescent lights unless they are listed for other loads, so use an LED-rated dimmer and dimmable bulbs, and check the dimmer's minimum wattage.
Can I install a smart switch without a neutral wire?
Only if the smart switch is listed for no-neutral installation. Many need a neutral to power their electronics, and NEC 404.22 does not allow electronic switches to use the ground wire as a return path during normal operation. A licensed pro can add a neutral if needed.
My switch box has no ground wire. Can I still replace the switch?
Yes, for a replacement, NEC 404.9(B) Exception No. 1 allows a switch without a ground connection if you use a nonmetallic, noncombustible cover plate with nonmetallic screws, or if the circuit is GFCI protected.
Why does my light switch feel warm or crackle?
A dimmer can feel slightly warm in normal use. A regular toggle switch should not be warm, and crackling usually means a loose connection arcing inside the box. Turn the breaker off and replace the switch with good terminations and correct torque (steps 7 and 10), or call a pro if anything looks burned.
How high should a light switch be?
The NEC sets a maximum, not a typical height: the center of the switch handle in its highest position must be no more than 6 ft 7 in. above the floor (NEC 404.8(A)). Most homes use about 48 inches to the center of the box, but that is common practice, not a code minimum.
Want it done right the first time?
I replace switches, dimmers, smart switches, outlets and light fixtures across Phoenix. See my Electrician service in Phoenix, or send a request with the contact form and text me a photo for a fast estimate.
Licensed Phoenix, Arizona General Contractor ROC 367058 (R-62)